A practical guide to the Party Wall Act 1996 for builders working on extensions and loft conversions. Covers notices, surveyors, awards and how party walls affect your programme.

A practical guide for builders on getting the most from their structural engineer, from when to appoint one to how to brief them and how to use their drawings on site.

Wondering what the steel will cost for your loft conversion? Our guide explains the factors that affect price, from section size and span to finish, so you can budget with confidence.

Thinking about a steel staircase for a loft conversion, extension or commercial project? Our guide covers design, specification, building regulations, finishes and lead times.

Yorkshire's Victorian terraces, stone houses and back-to-backs present unique steel challenges for loft conversions. A practical guide from our Wakefield fabrication workshop.
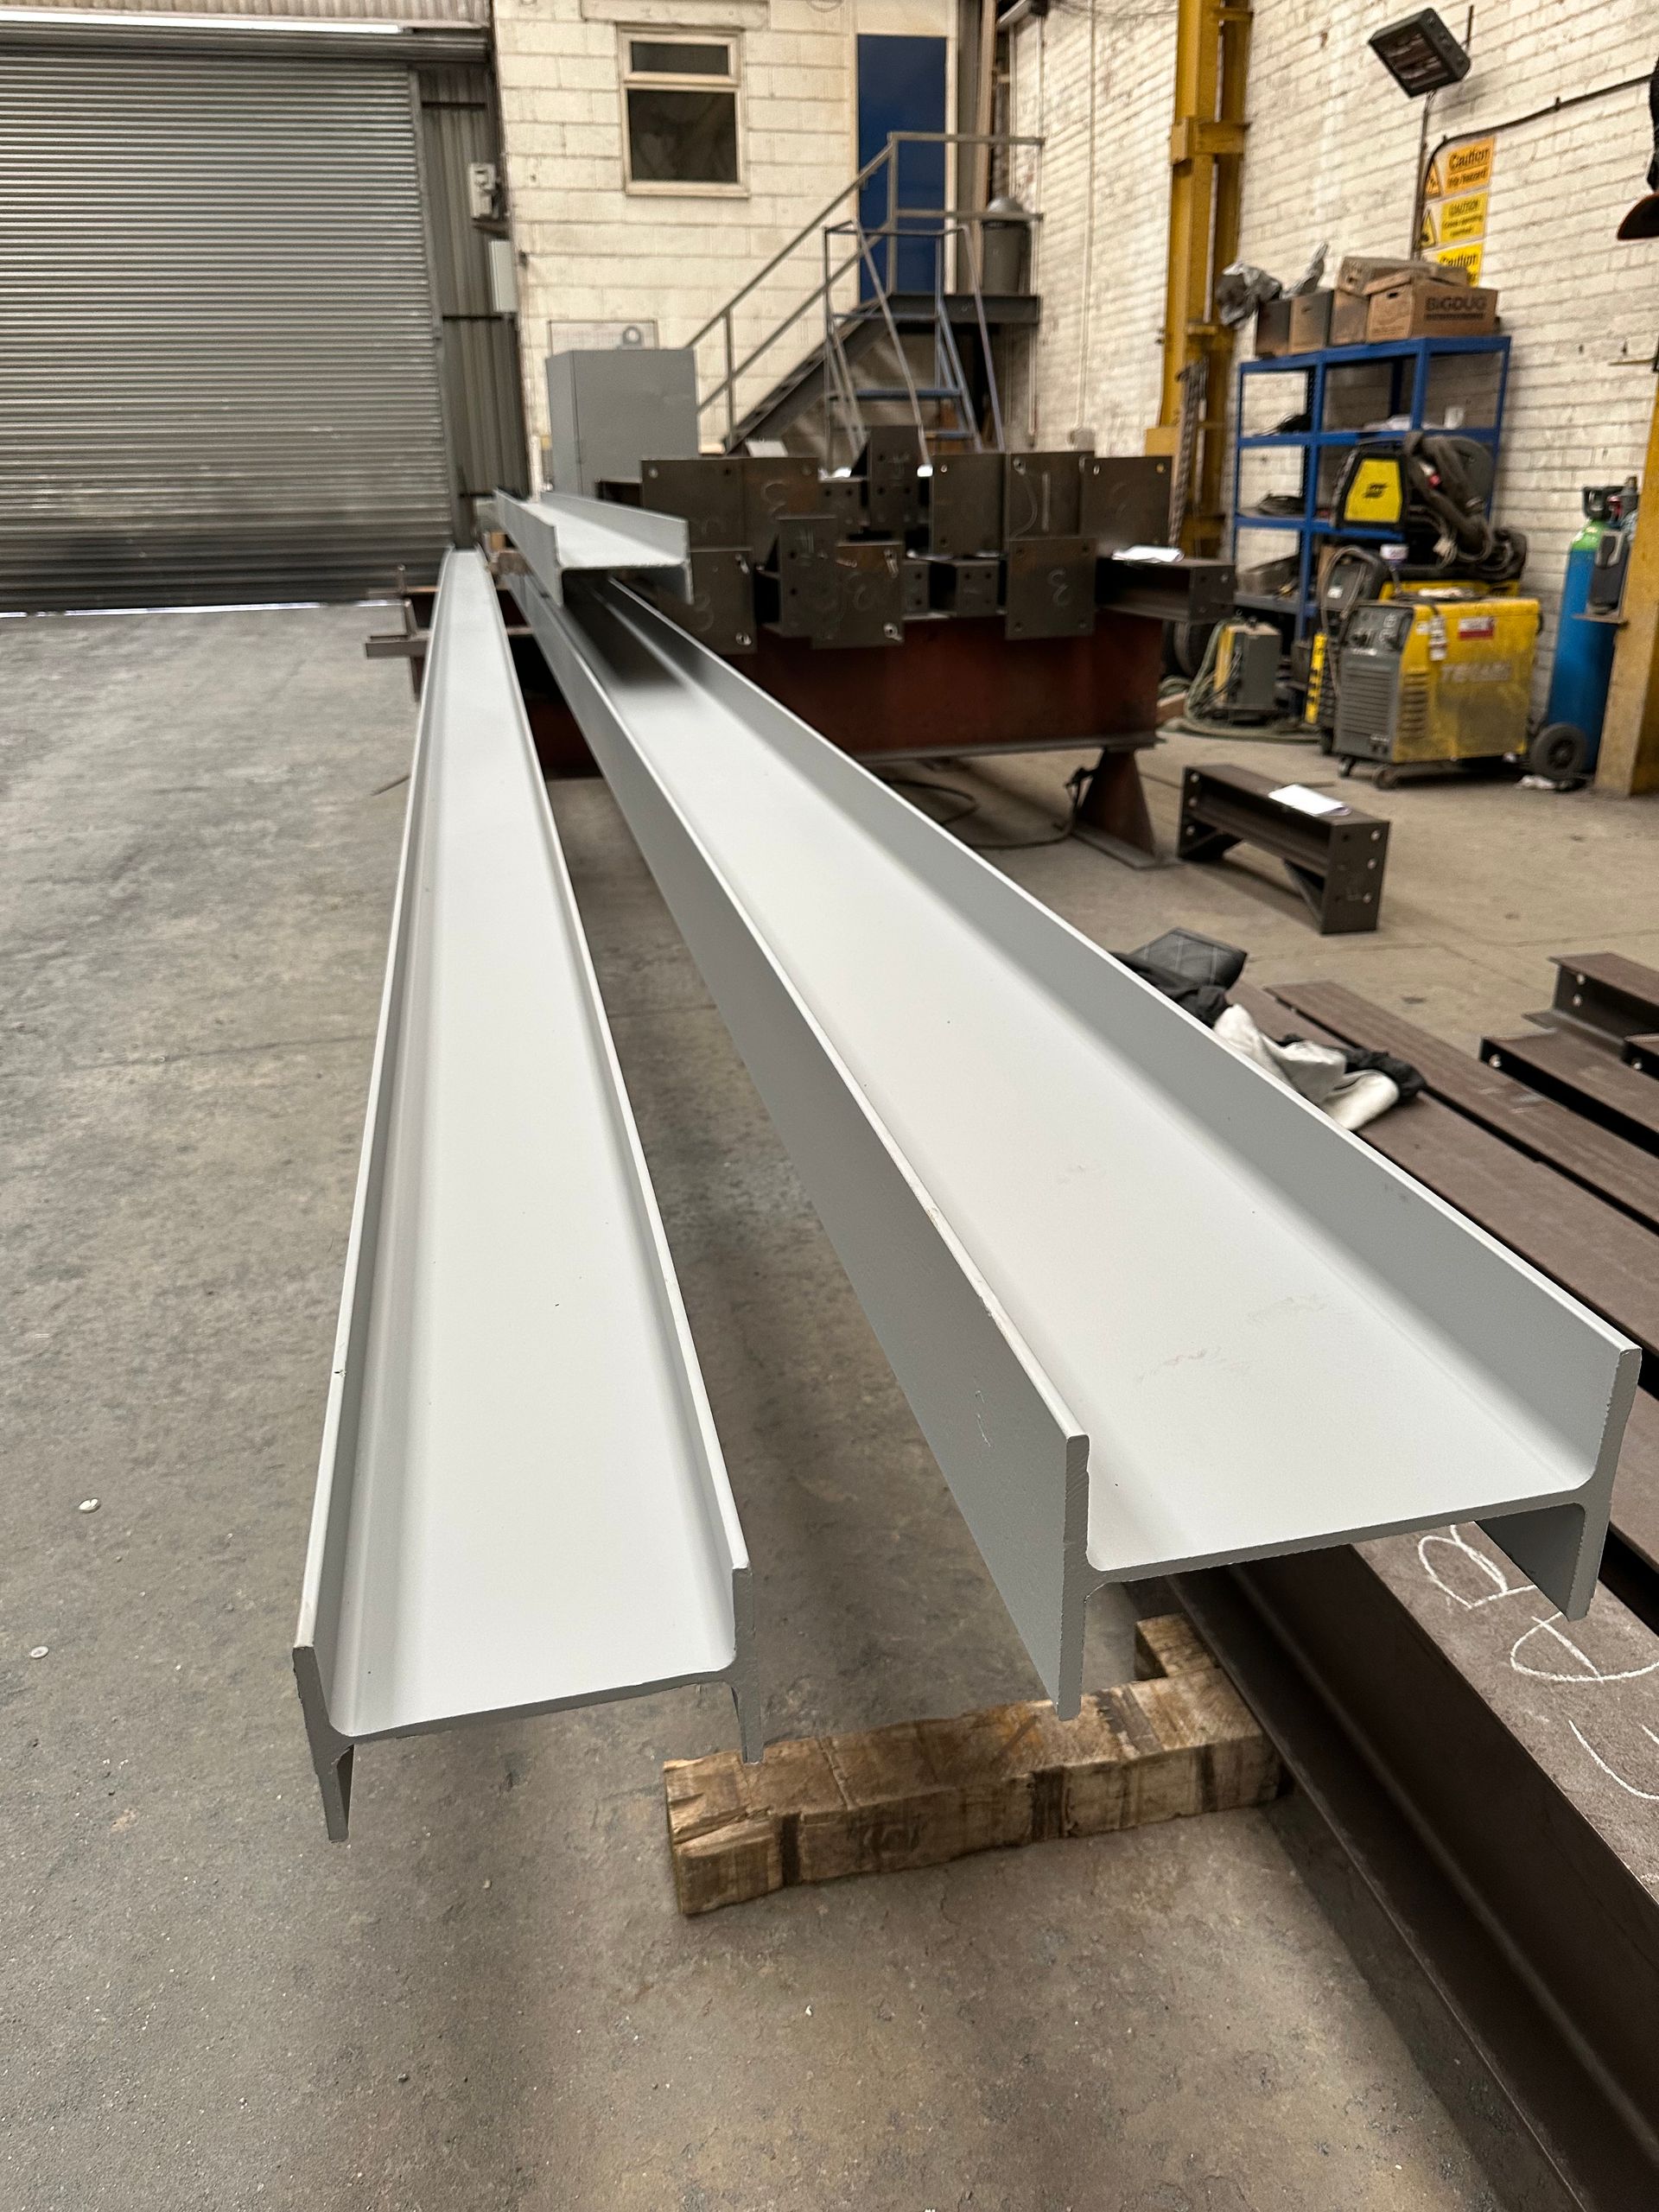
Not sure which finish to specify for your steel beams? Our practical guide covers shot blasting, primer, powder coat and galvanising so you can choose the right option for every project.
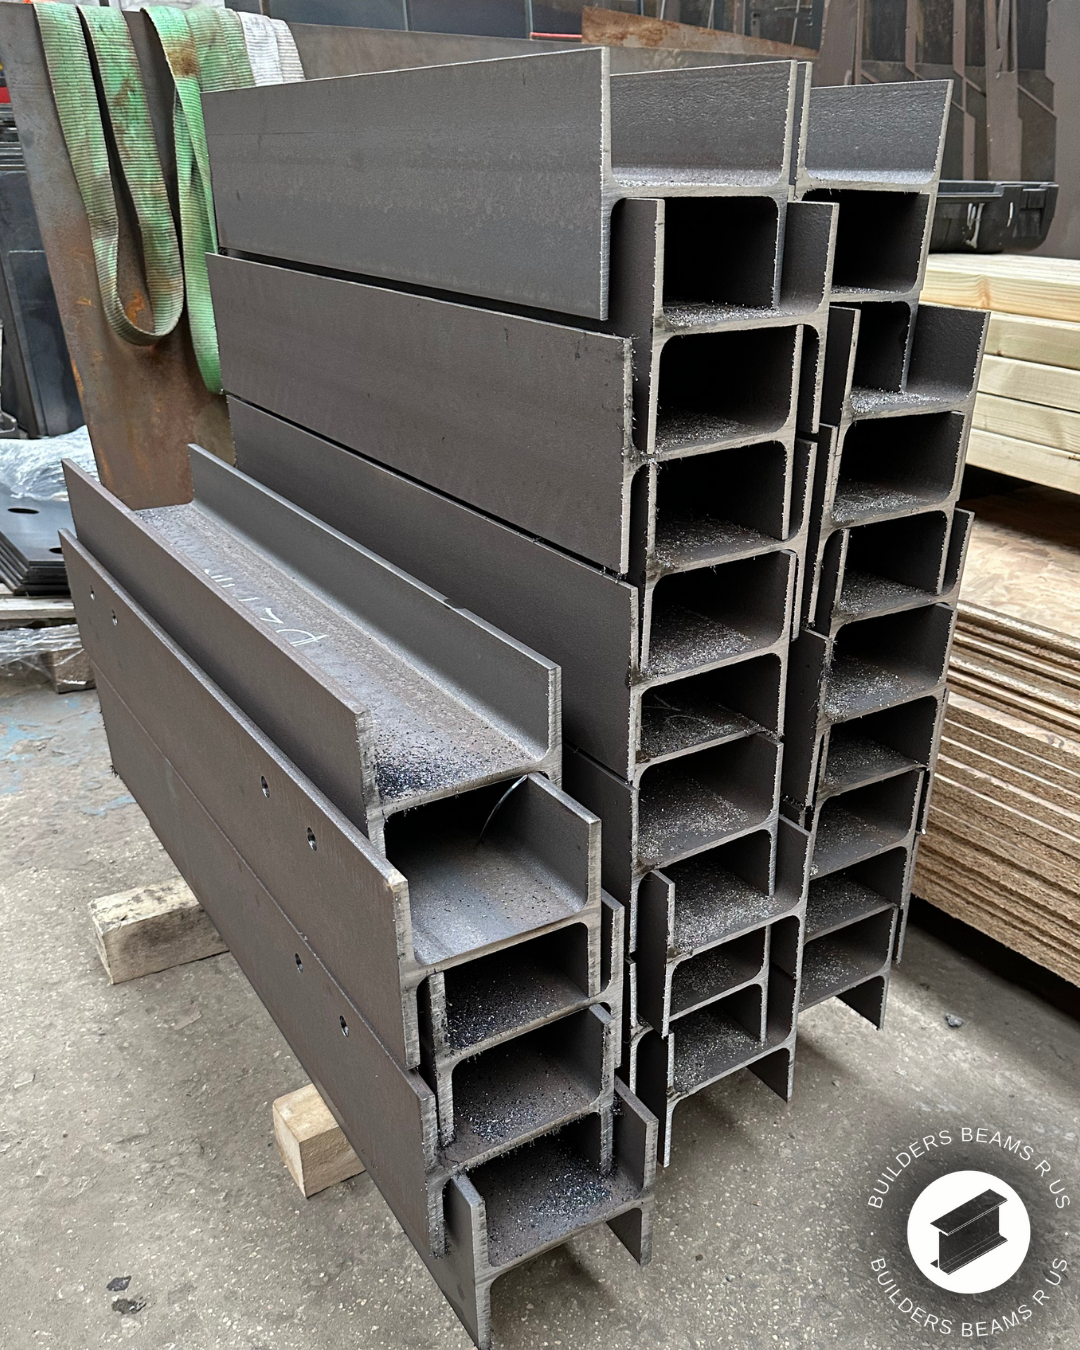
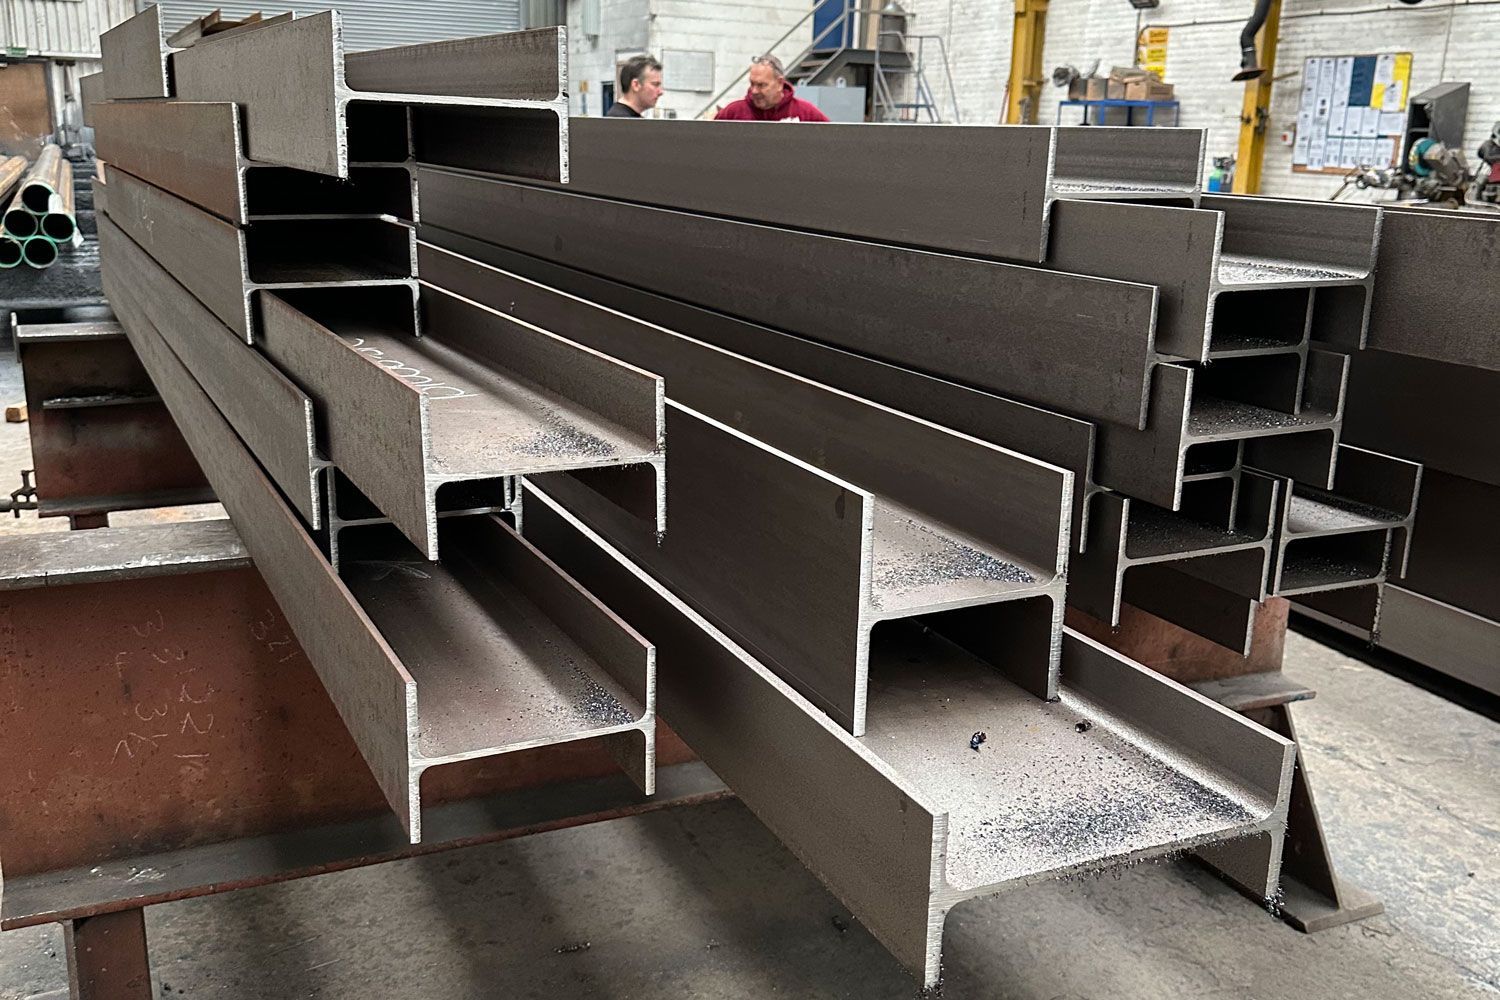
Not sure what size RSJ you need for a wall removal, extension or loft conversion? Our practical guide covers section sizes, spans and what to send for a quote.
Learn how to read a steel beam specification on structural drawings. A practical guide to section sizes, lengths, grades, bearings, plates, holes and notes.
Avoid delays on site with this practical guide to common RSJ and steel beam mistakes in domestic renovations, including bearings, supports, drilling details, access planning and delivery prep.
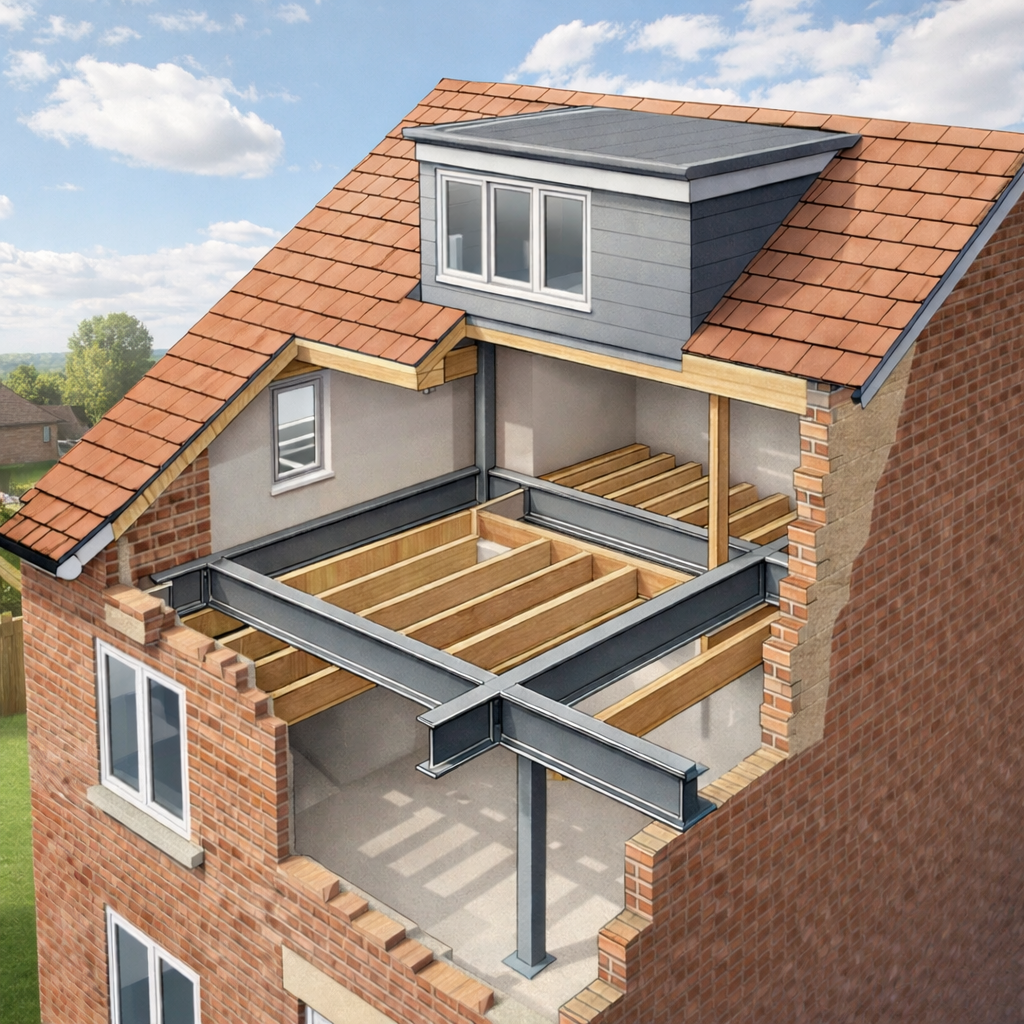
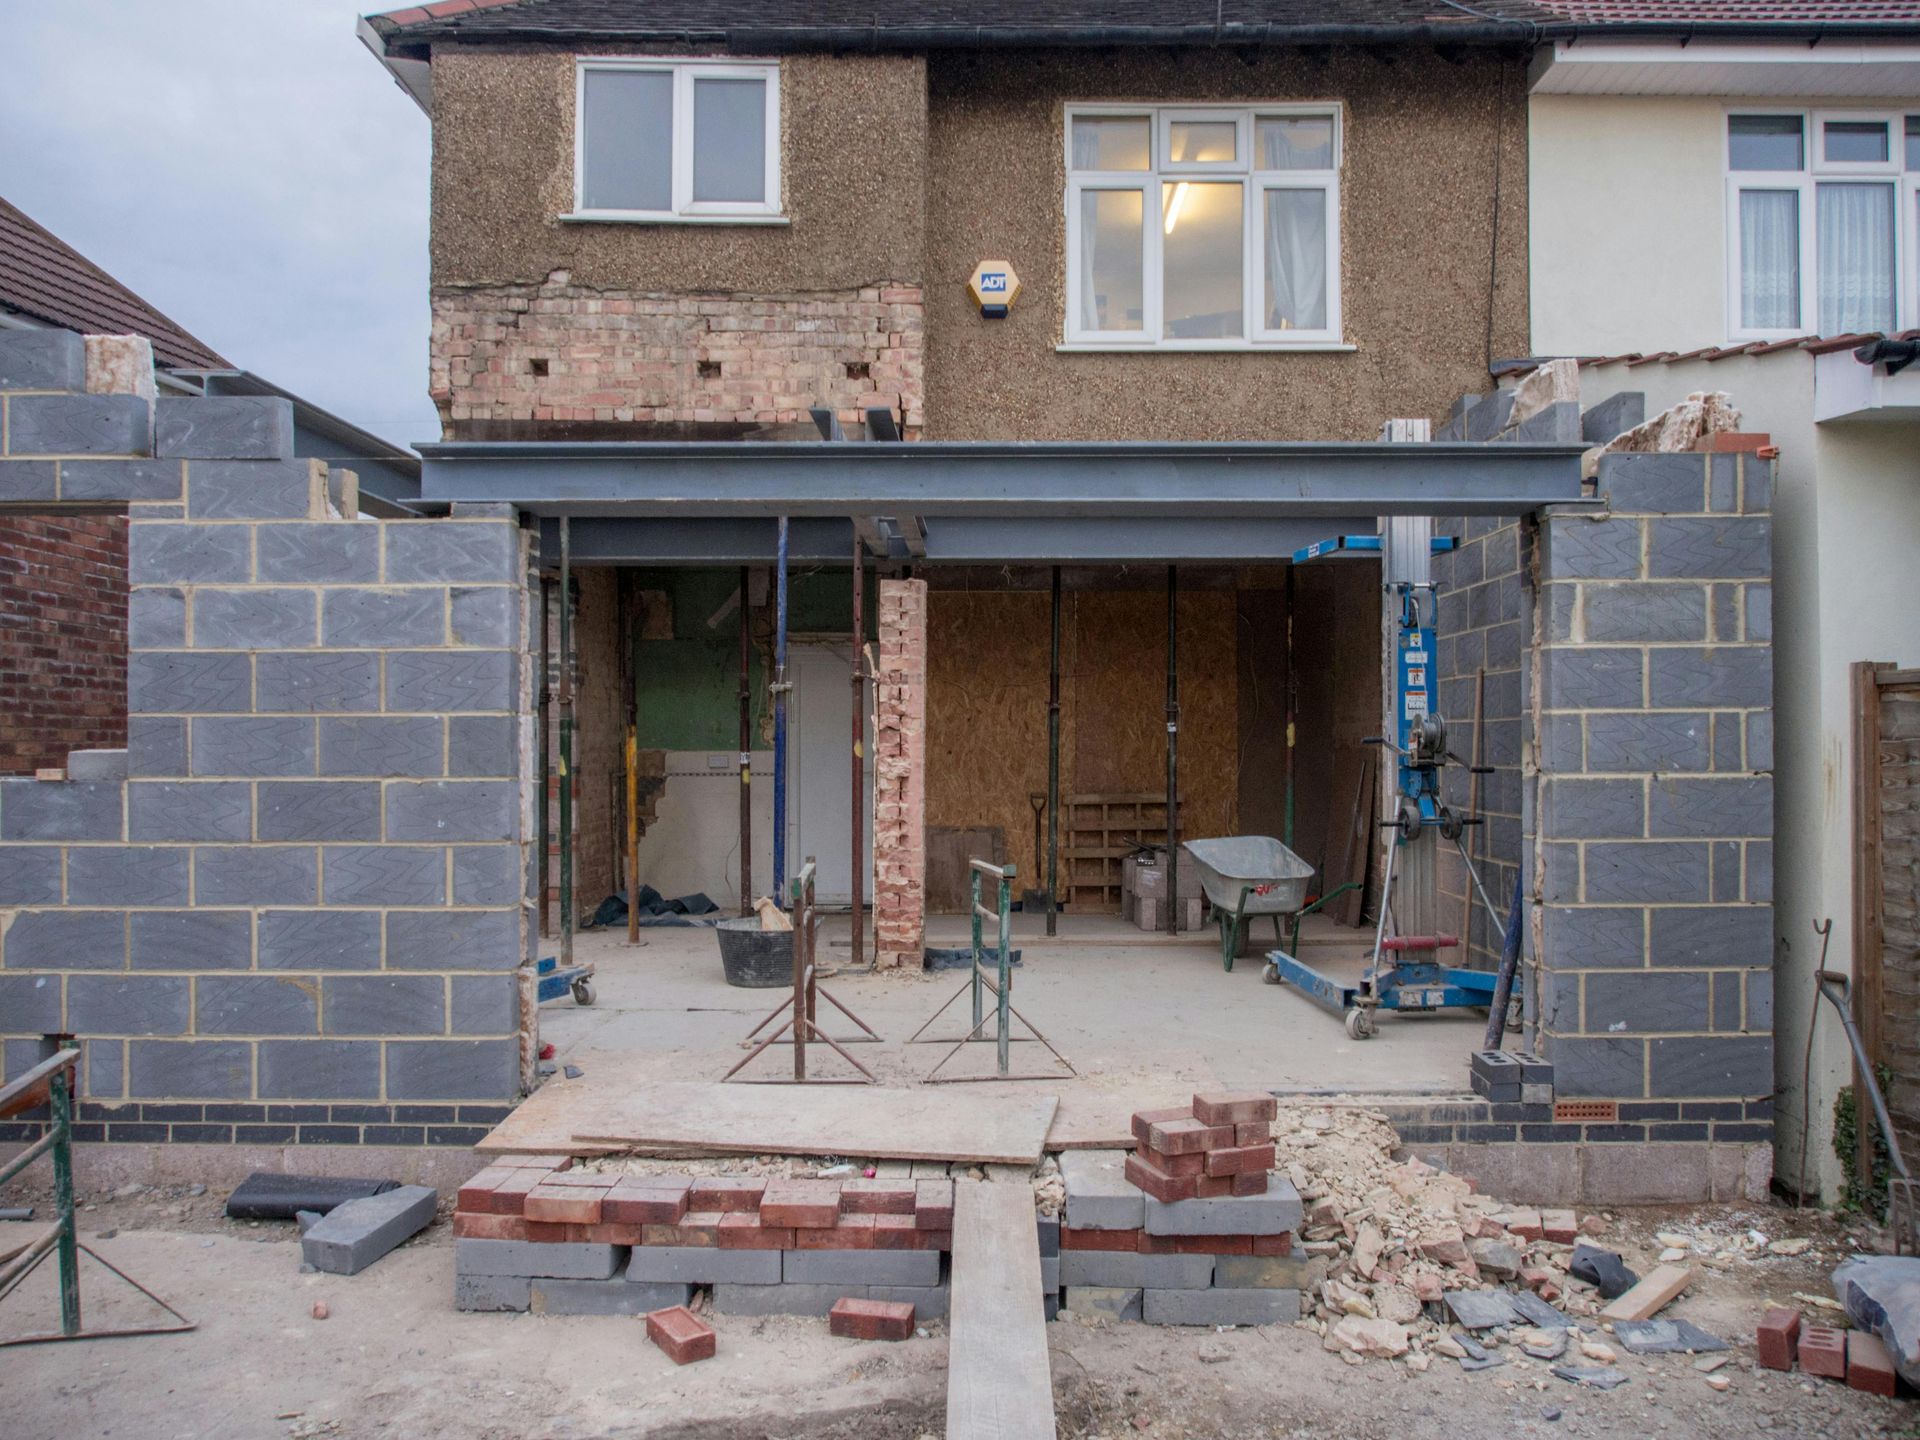
A practical guide to steel in loft conversions. Where beams are commonly required, what details to confirm early, and how to avoid common issues that cause delays on site.